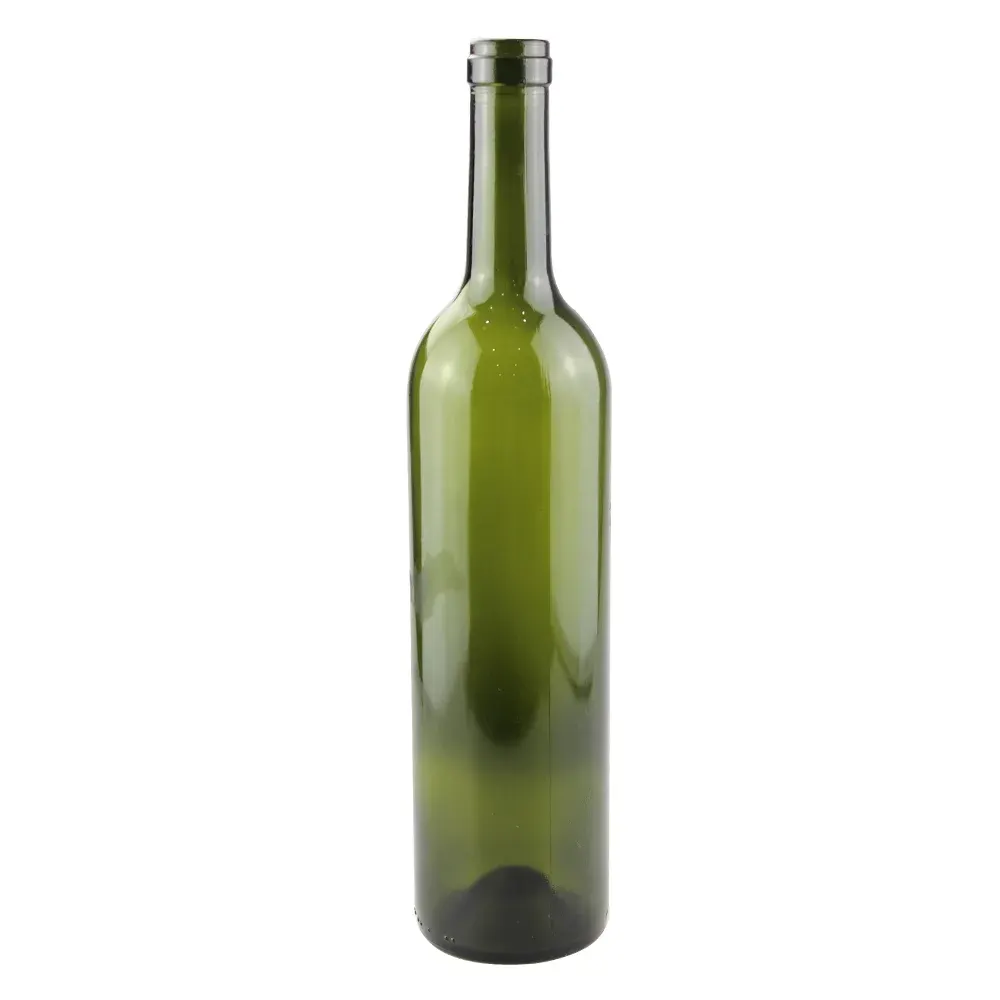
Part of our glass wine bottles range; the stock moulds are pictured at the end of this guide.
A proprietary bottle shape is the strongest shelf signal a wine brand can send. This page explains the two routes – embossing a stock mold versus developing a full custom mold – with realistic costs and timelines for each.
- Full custom molds typically cost several thousand USD per cavity set and need 50,000-100,000+ units per year to amortize
- Keep the neck finish standard (cork or Stelvin-type) even with a custom body – closures stay off-the-shelf
Related: custom wine bottles main page
A custom wine bottle can mean anything from a stock Bordeaux shape carrying your embossed crest to a fully sculpted proprietary mold — and the gap between those two ends is not just aesthetic. It is a difference in tooling commitment, lead time, and the volume you must sell to make the investment rational. Most failed custom projects do not fail in the glasshouse; they fail at the brief stage, when a buyer asks for “custom” without first deciding which route actually matches their volume, budget, and launch date. This page maps every customization route in order of commitment, walks the mold development and sampling process step by step, and gives you the specification locks, quality gates, and decision criteria that separate a bottle you are proud of from a bottle that quietly erodes margin for years.
The Five Customization Routes, Lightest to Deepest
Before any drawing is opened, the single most useful decision is which route you are on. Routes are ordered by how much of the bottle you change and therefore by how much tooling, time, and volume you commit. Choosing the lightest route that still meets your brand goal is usually the right commercial call — a heavier route does not make the wine better, it only makes the bottle harder to change later.
The matrix below consolidates the route, what physically changes in the glass and on it, the driver of any upfront cost, the typical order-quantity band, the lead-time band including sampling, the situation each route fits, the main risk to manage, and a note. Every numeric band is a planning range; the exact figure is confirmed per project and depends on cavity count, colour, and furnace scheduling.
| Customization Route | What Changes | Best For | Risk to Manage | Notes |
|---|---|---|---|---|
| Stock + label only | Only your label, capsule, and printed artwork change; the bottle is a standard stock shape bought off the shelf. | Small brands, test markets, and vintage-specific runs where speed beats exclusivity. | No bottle differentiation; your label is the only signal and look-alikes are easy. | Fastest time to shelf; confirm per project. |
| Stock + decoration | Stock shape finished with fired ceramic print, hot stamp, frost, or spray colour. | Brands wanting immediate shelf presence without any tooling commitment. | Coatings can scratch — specify abrasion testing; colour match needs a signed limit sample. | Keep the closure standard; confirm per project. |
| Custom colour + emboss | A stock mold fitted with an emboss or deboss insert (logo, text, crest) and/or a custom glass colour batch. | Brands wanting a permanent mark in the glass from mid volume upward. | Emboss must avoid label and closure zones; colour batch must be locked to a limit sample. | Emboss survives reuse and recycling; confirm per project. |
| Semi-custom mold | A modified stock mold — adjusted weight, punt, panel, or shoulder — a semi-exclusive variant. | Brands with steady volume wanting a distinct but proven shape. | Changes ripple to the filling line; validate against your bottler’s changeover envelope. | Lower technical risk than full custom; confirm per project. |
| Full private mold | A wholly proprietary shape you own, with exclusivity terms written into the tooling contract. | Brands where the bottle itself is the brand asset on the shelf. | Highest commitment; mold ownership and change control must be contracted before cutting. | Amortize over annual volume; confirm per project. |
The practical rule of thumb: below roughly 50,000 bottles per year, your differentiation should live in decoration and surface treatment, not in steel. A full private mold only pays back when the shape itself is doing brand work — think of the silhouettes you recognize from across a crowded bar. If you cannot yet justify the volume, start light and reserve the option to deepen the route as your brand grows; every route above can be stepped into later without losing what you have already built.
One more planning point that buyers routinely underestimate: routes are not strictly sequential in cost. Moving from decoration to emboss is a modest step; moving from emboss to a full private mold is a step-change in both commitment and risk. Decide the route with your annual volume and launch date on the table, not with a mood board alone, and ask the supplier to quote each candidate route side by side so the marginal cost of going deeper is visible before you commit.
The Custom Mold Development Process, Step by Step
A custom mold is not a single object — it is a staged program with a drawing, a sample mold, a revision loop, and series tooling, each handing evidence to the next. The discipline that protects you is simple: at every node, you approve real evidence (a drawing with numbers, a first article in real glass, a capacity measurement) rather than a promise. Below, each step names the deliverable you should request before you sign off and move to the next stage.
Step 1 — Drawing and sample (concept to technical drawing)
The program opens with your brief: nominal and brimful capacity, target weight, closure and finish standard, case and pallet constraints, and the visual references that define the silhouette. The mold engineering team converts that brief into a technical drawing with real dimensions, not a rendering. Request from supplier: a dimensioned engineering drawing (PDF and, where possible, an editable source), a bill of the controlled characteristics, and — for hand-feel — a CNC resin or 3D-printed model you can hold. Approve the drawing in writing before any steel is cut; this is the cheapest point at which to change everything.
Step 2 — Mold design (wall distribution and finish engineering)
With the drawing approved, the mold shop simulates wall distribution and stress points, verifies capacity against the brimful tolerance, and specifies the finish to the closure maker’s standard. Request from supplier: the wall-thickness simulation or, at minimum, a documented wall-distribution plan, the finish specification cross-referenced to your closure supplier, and a list of any design compromises the simulation forced. If a compromise touches capacity or closure fit, stop and re-brief rather than accept it silently, because a silent compromise becomes an expensive mold change later.
Step 3 — Mold manufacturing (cavity machining)
The cavity set is machined — single-cavity for sampling first, then the full series set. This is where lead time is least compressible; steel work cannot be rushed without sacrificing surface finish and dimensional stability. Request from supplier: a manufacturing schedule with dated milestones, and confirmation of the material and hardness of the mold steel, because that determines how many bottles the mold will reliably produce before maintenance and what the end-of-life transfer looks like.
Step 4 — Trial mold and first article
The sample mold produces the first real glass. This is the moment of truth: renderings lied, resin models felt wrong, but real glass shows colour, weight, seam quality, and finish honesty. Request from supplier: a first-article report — full dimensional measurements against the approved drawing, photographed seams and finish, and a set of physical first-article samples shipped to you. Do not approve on a photo; approve on glass in your hand, and keep at least one signed first article as the seed of your counter-sample.
Step 5 — Dimensional and capacity verification
The first article is measured against the drawing and, critically, filled to confirm true capacity and headspace. A bottle that looks right but holds the wrong volume is a legal and commercial problem at the filler. Request from supplier: a capacity test report (brimful and nominal fill), a weight-variance report across the sample set, and a finish gauge check. Cross-check the numbers against your filler’s tolerance envelope before proceeding, because the bottle must run on your line, not just on the supplier’s.
Step 6 — Small-batch trial production
A short pilot run on the production line proves the bottle behaves at scale: case packing, palletizing, labeling, and closure application under real conditions. Request from supplier: pilot-run samples spanning a full pallet, a line-performance note (breakage and any jam rate), and a retained counter-sample — a signed bottle that every future lot will be judged against. The counter-sample is your permanent reference and should be stored by both sides so disputes are settled by glass, not memory.
Step 7 — Mass production
With the counter-sample agreed and the pilot accepted, the bottle enters the full line schedule under the same lot documentation and AQL regime as any stock product. Request from supplier: per-lot inspection documentation, the agreed AQL level, and a change-control clause stating that any mold or process change mid-run must be re-approved against the counter-sample. Production is not the end of discipline; it is where discipline is enforced lot by lot, and where a weak change-control clause lets drift creep in unnoticed.
Across all seven nodes, the buyer’s job is consistent: demand the artifact, not the assurance. A supplier who invites you to approve each stage with real evidence is protecting your investment; one who asks you to skip steps to save time is shifting risk onto your launch date. Build the sampling and revision loop into your plan deliberately — the weeks you allow here are the weeks you do not lose to rework after tooling.
Decoration and Surface Techniques That Work on Wine Bottles
Decoration is where most brands begin, and it is also where the most cost-effective differentiation lives. The techniques below work reliably on wine glass, but each carries a different durability and cost profile — choose by where the bottle will spend its life (cellar, shelf, transit) and how often the artwork changes.
- Screen printing (ACL): ceramic inks fired into the glass — dishwasher- and cellar-proof, and the default for logos and text that must survive years. One to four colours is the economical band; each colour is a screen and a pass, so colour count is the main cost lever. Confirm a signed colour limit sample against a measured Delta E target so reorder batches match, and agree the inspection distance and lighting under which colour is judged.
- Hot stamping: metallic foils (gold, copper, holographic) for crests and accents. A premium look at small added cost, best combined with print. Foils are more delicate than fired ceramic, so specify the abrasion and rub-test level your market demands and validate on a filled, labeled, and shipped sample rather than a flat proof.
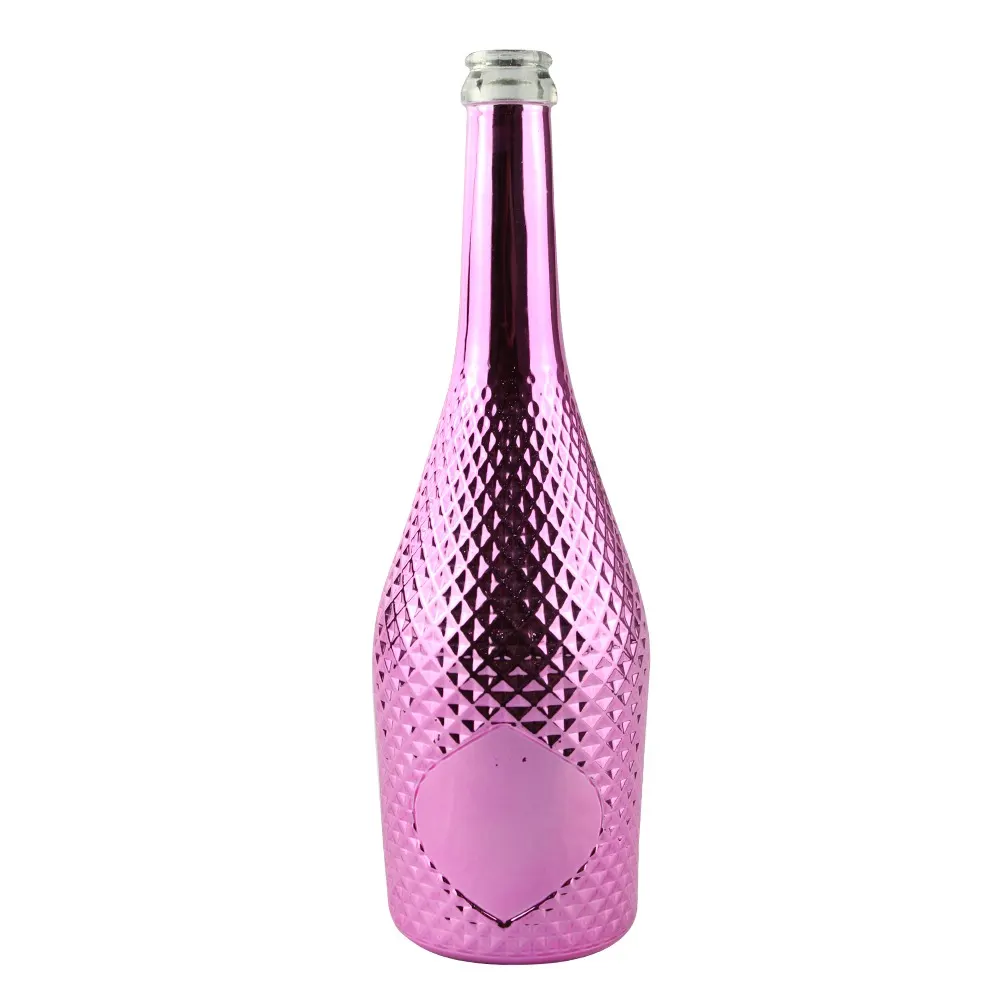
- Acid frost / sandblast: full-body or panel frost for a tactile, light-diffusing finish. Acid frosting gives the smoother, more durable result for wet cellar conditions; sandblast reads more artisanal but can hold more surface residue. Decide by the handling story you want to tell, and request a panel-frost limit sample if only part of the bottle is treated.
- Spray colour and gradient: organic coatings in any colour — powerful for limited editions and seasonal releases. Because coatings, unlike ceramic ink, can scratch, specify adhesion and abrasion testing and agree a rub-test standard before mass production. Gradients need a signed master panel; subtle shifts between batches are normal without one, so the panel is what keeps editions consistent.
- Embossing: the only decoration that cannot be imitated by a label — it is in the glass itself and survives every reuse, refill, and recycling story you tell. It also pre-commits part of the mold route, so decide emboss position and depth before the mold is cut, not after, and confirm it lands clear of the label panel and the closure finish.
Process depth, finish galleries, and colour libraries sit on our decoration services page; mold-specific engineering and sampling are detailed on our mold development page. For the full range of bottle programs, see the custom wine bottles main page.
Specification Decisions to Lock Before Tooling
The most expensive change in a custom bottle program is the one made after the steel is cut. Once a mold exists, altering a dimension means re-machining or scrapping tooling — a cost measured in both money and the weeks you lose to re-sampling. The discipline is therefore to freeze the following parameters at the drawing stage and treat them as contractually controlled characteristics, each with a tolerance and a named owner on both sides.
| Parameter to freeze | What to lock |
|---|---|
| Capacity and brimful | Nominal (commonly 750 ml) and the brimful volume that defines legal headspace and cork depth. |
| Body diameter and height | Maximum and minimum envelope, including the taper, any panel, and shoulder profile. |
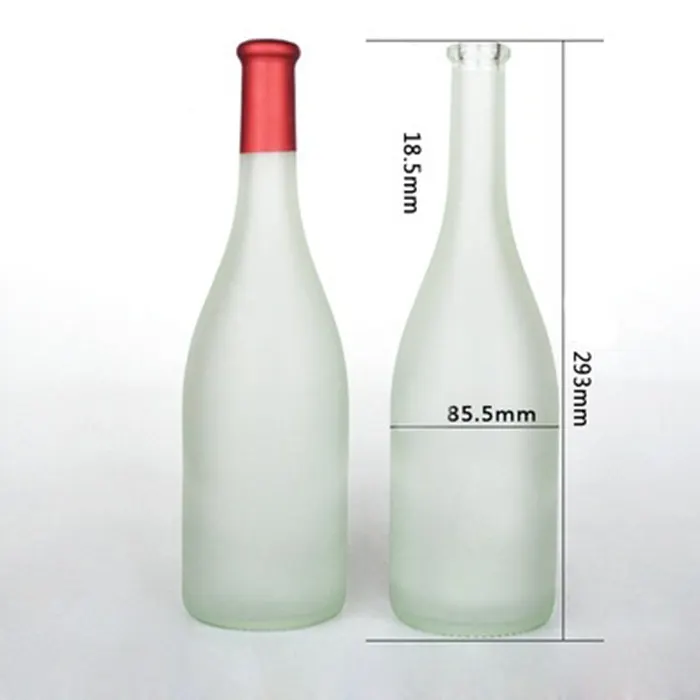
| Neck finish | Cork 18.5–22 mm, BVS 30×60 screw, or sparkling-rated; matched to your named closure. |
| Weight | Standard 420–550 g, or 600+ g for a premium feel, with an allowable variance band. |
| Colour | Antique green, flint, amber, or a custom batch with a signed limit sample and Delta E target. |
| Base / punt structure | Flat, standard punt, or deep punt, including the base inscription zone and stability footprint. |
| Label surface flatness | Recessed panel, flat band, or no panel, with tolerances for label height and edge radius. |
The pattern is consistent: anything cut into the mold (capacity, body, finish, base, panel) is expensive to change; anything applied after (colour batch, decoration) is cheaper to revisit but still costs a restart. Freeze the mold-cut parameters first and absolutely, agree the colour and decoration as the next layer, and document every value in the controlled-characteristics list so that a future reorder cannot drift.
Quality Gates for a Custom Run
A custom bottle earns the same quality discipline as a stock line, plus two extras that exist only because the shape is new: a first-article gate and a retained counter-sample. The gates below are the minimum a serious program should carry; write the agreed levels into the purchase contract so they are enforceable, not aspirational, and so a change of contact at the supplier cannot quietly lower the bar.
- First article inspection (FAI): a full dimensional report on the series mold’s first production pieces against the approved drawing, covering every controlled characteristic. No FAI sign-off, no mass run — this is the gate that catches a mold cut to the wrong number before it makes a hundred thousand wrong bottles.
- Capacity and weight tolerance: verify brimful and nominal capacity and the weight band across a sample set, not a single piece. Wine is a measured product; a bottle that drifts out of tolerance is a filler and a compliance problem, not a cosmetic one, and it can trigger recalls or customs disputes at the destination.
- Annealing stress verification: check residual stress with a polariscope per ISO 7459 conventions, and specify thermal-shock resistance per ASTM C149 where your logistics (hot warehouses, cold chains, rapid temperature swings) demand it. Under-annealed glass is brittle glass, and brittle glass fails in the cellar and on the line.
- Appearance limit sample and AQL: agree a signed appearance limit sample and an AQL level — commonly AQL 2.5 for major and AQL 1.0 for critical defects on a custom run — so that “acceptable” is defined before the lot ships, not argued after. The limit sample is the only honest referee when a shipment looks “off” at the dock.
- In-production change control: any mold adjustment, material change, or process change mid-run must be re-approved against the counter-sample and re-documented per lot. A custom program is only as stable as its change control; without it, two seemingly identical shipments can arrive with different wall distribution and different breakage in the filler.
For transit and stacking, reference the ISO 3394 pallet dimension convention and, for destination compliance, the FDA and EU 10/2011 frameworks for food-contact glass; our team can confirm the specific declarations your markets require and the test reports that support them. None of these gates is optional for a bottle that carries your name — they are the difference between a custom project that delights and one that generates chargebacks, and they are far cheaper to specify up front than to litigate after.
Private Mold vs Stock: When the Investment Pays Off
The decision between a stock bottle and a private mold is fundamentally a volume-and-horizon question, not a taste question. A private mold is a capital asset on your balance sheet of brand equity; it only compounds if you sell enough of it for long enough. Use the criteria below to test whether you are there yet, and treat the thresholds as planning ranges to confirm per project rather than as fixed laws.
- Scheduling difference: a stock bottle draws from existing inventory and slots into the furnace schedule immediately; a private mold occupies a defined window in the mold shop and the line, so its lead time is committed and less flexible. If your launch date is immovable, the stock-or-custom decision is partly a date decision — ask the supplier for a written milestone plan before you commit the route.
- Exclusivity as an asset: a private mold can be contractually exclusive to you for a period, and that exclusivity is itself valuable and should be weighed against the tooling cost. Ask what the exclusivity period is, whether it renews automatically, what volume or payment keeps it alive, and what triggers its end — these terms, not the mold price, often decide the real return.
- Intellectual property and ownership questions to ask your supplier: Who owns the mold after payment — you or the factory? Is the mold stored and maintained at the supplier’s cost, and for how long? Under what conditions may the mold run for other clients, and is there a non-compete on your shape and on your market? What are the transfer and buy-out rights if you change suppliers, and who pays to ship the steel? These are contract questions, not catalog facts; have them answered in writing before steel is cut, and take legal advice on the wording in your jurisdiction — this page gives the questions, not the legal conclusions.
- Exit and reuse: a private mold has a service life tied to mold steel and maintenance. Ask how many bottles the mold is rated for, what maintenance is included and at what cost, and what happens at end of life or if you discontinue the SKU. Planning the exit is part of planning the investment, and a mold with no defined end-of-life is a liability dressed as an asset.
The pragmatic path many brands take: launch on stock or emboss to prove the wine and the market, then step up to a semi-custom or private mold once annual volume justifies it. This sequences risk — you commit steel only after you have evidence the volume exists — and it keeps a bad vintage from locking you into tooling you cannot amortize. A private mold is a milestone, not a starting move.
RFQ Checklist for a Custom Wine Bottle Project
A precise request for quotation is the cheapest insurance in a custom program. The more ambiguity you remove from the brief, the tighter the quotation and the shorter the revision loop. Send your supplier the following, and expect a staged response that mirrors the development process above — a supplier who cannot answer the early items is a supplier who will improvise later.
- Route — decoration only, emboss, modified mold, or full private mold (say which, and why your volume supports it).
- Annual volume and first-run quantity — the band drives which routes are even economical and sets the tooling amortization math.
- Capacity, weight target, and shape references — photos, sketches, or a competitor bottle welcome; the more concrete, the tighter the quote.
- Closure and finish standard — cork, screw cap, or sparkling-rated, named to the closure maker’s spec so the finish is cut correctly the first time.
- Decoration process and artwork stage — what is final, what is conceptual, and what colour or foil references define the look.
- Timeline constraint — the vintage date or launch date that cannot move, stated explicitly, so the supplier can flag a route that will not make it.
- Destination and Incoterm — because compliance declarations, annealing levels, and packaging all follow the market you ship to.
- Quality gates — the AQL level, annealing standard, and counter-sample process you require, stated up front so they are priced in, not negotiated after the fact.
Frequently Asked Questions
How much does a custom wine bottle mold cost?
A full production mold set for a 750 ml wine bottle is a five-figure investment that scales with cavity count and shape complexity; an embossed insert for a stock mold is low four figures, and decoration-only customization needs no mold at all. Treat any quoted figure as project-specific; confirm the number against your exact route and cavity count, and ask for the cost broken into drawing, sample mold, and series tooling so you can see what each stage adds.
How long does custom wine bottle development take?
Lead times are quoted per project, once the mould, decoration and line schedule are confirmed.
What is the MOQ for a custom wine bottle?
Minimum quantities are quoted per project, because they depend on the mould and the line it runs on.
Can I put my winery logo directly into the glass?
Yes — embossing (raised) or debossing (recessed) molds your crest, text, or pattern into the bottle itself via a mold insert or full mold. Unlike labels or print, embossing cannot peel, fade, or be inexpensively counterfeited, and it survives the entire life of the bottle including reuse and recycling. Position the emboss where it will not interfere with the label panel or the closure finish, and lock it at the drawing stage so the insert is cut to the right place and depth the first time.
Who owns the mold after development?
Ownership belongs in the tooling contract before any work starts, not after. Common practice is that the buyer who pays for the tooling owns it, with defined exclusivity periods and conditions under which the mold may run for other clients. Get cavity maintenance, storage, transfer, and buy-out rights written down. The questions to ask are listed in the private-mold section above; the legal wording should be reviewed by counsel in your jurisdiction, because ownership, exclusivity, and cross-border enforcement are matters this page cannot decide for you.
What should I test on custom bottle samples before approving?
Test fill height against your legal volume, closure fit and torque on the actual finish, label fit on the real panel, case and pallet packing efficiency, weight against target, and visual quality under raking light. Real glass samples — not renderings or resin models — are the only valid approval basis, and the measurements should be recorded in a first-article report you keep against the retained counter-sample. Approve in writing only after the glass has been through your own filler or a representative test, because a bottle that looks perfect on a desk can still jam a line.
When does a private mold make sense versus a stock bottle?
A private mold makes sense once annual volume reliably clears roughly 100,000 bottles and the bottle itself is doing brand work on the shelf. Below that, stock with emboss or decoration usually returns more differentiation per dollar and keeps your options open. Also weigh your launch date: a private mold commits a fixed window in the mold shop and line, while a stock bottle draws from existing inventory. Prove the market on stock first, then step up to steel once the volume justifies it, and revisit the decision each vintage as your numbers change.
What happens if I change a specification after the mold is cut?
It depends on which parameter moves. Anything cut into the mold — capacity, body diameter, neck finish, base, or label panel — requires re-machining or a new cavity and costs both money and the weeks lost to re-sampling. Applied properties like colour batch or decoration are cheaper to revisit but still trigger a restart and a new limit sample. This is why the specification-lock section above exists: freeze the mold-cut parameters at the drawing stage, document them as controlled characteristics, and approve in writing before steel is cut, so the only changes left to make are the cheap ones.