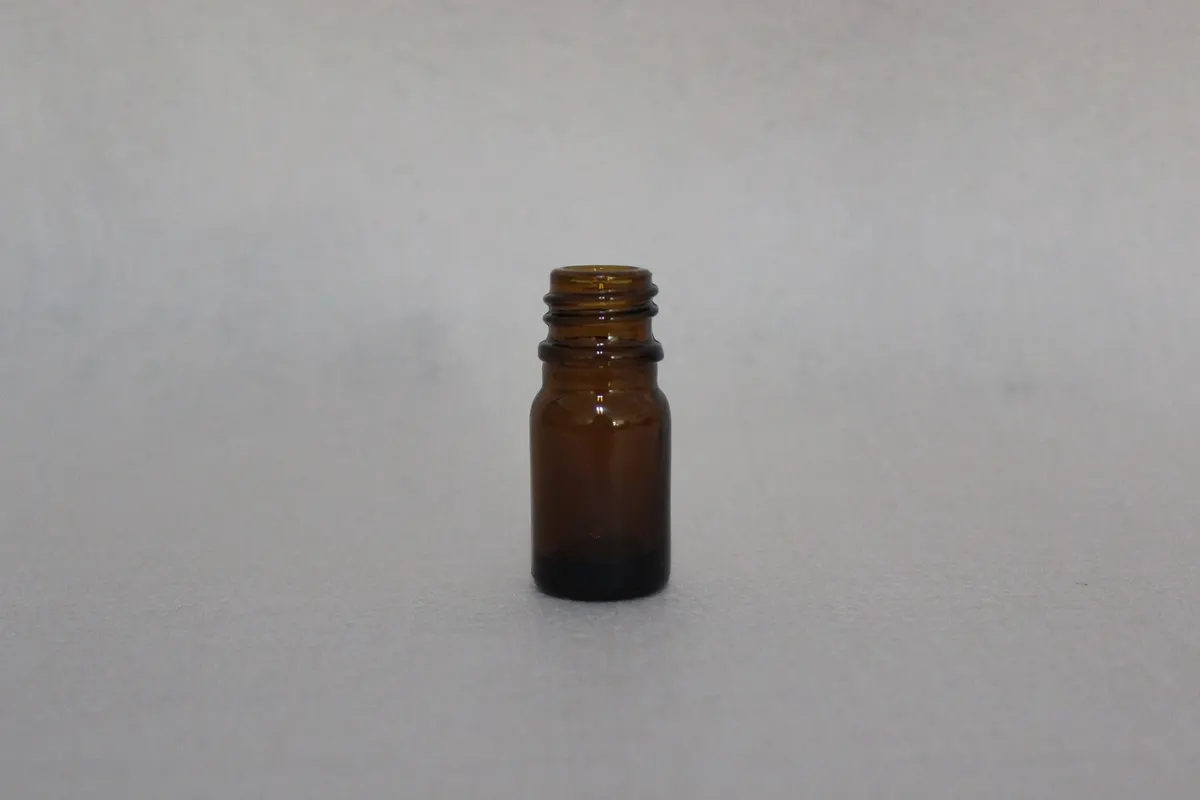
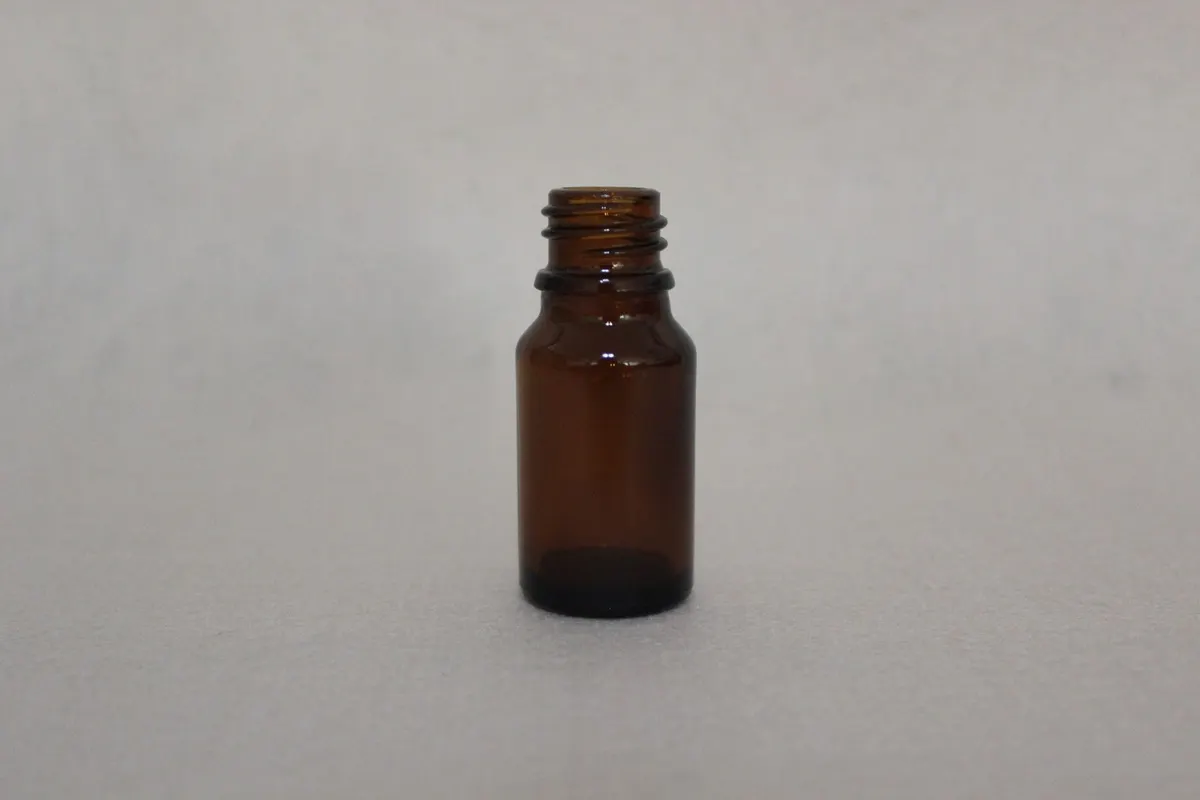
Filed under amber dropper bottles; the moulds we quote for this are pictured at the foot of the page.
Fitting a dropper to a filled glass bottle succeeds when three things are controlled: how far the pipette is pushed into the bulb, how hard and how long the press holds it there, and whether the finished pack is tested as a pack. Depth and force are each held as a window, not a single figure, and the seal and drop count are rechecked on assembled units with the real fill. Nearly every leak, low dose or loose part traces back to one of three joints being slightly out, not to a bad component.
The three joints an assembled dropper depends on
A dropper is a small sub-assembly: a pipette that reaches into the product, a bulb that creates the vacuum, a collar that carries both and engages the bottle, and sometimes an inner plug the pipette passes through. The bottle contributes its neck finish. Glass, neck and capacity are covered in our dropper bottle range overview, and the materials and finishes of collar, bulb and pipette in the dropper cap and closure pages. What follows concerns only how those chosen parts are put together.
- Pipette into bulb. The pipette is held in the bulb socket by interference, occasionally assisted by a shallow bead. The controlled dimension is insertion depth, taken from the bulb flange to the cut end of the pipette.
- Pipette tip inside the bottle. The tip has to stop at a set height above the base. Too short and product is left behind; too long and the pipette lands on the glass and lifts the collar away from its sealing land.
- Collar onto neck finish. The finish code sets both thread and sealing geometry. Small cosmetic bottles commonly use 13-425, 18-415, 20-410 and 24-410, among other families, and the collar must agree with the code on both counts.
An inner plug seated in the neck adds a fourth joint at its bore. How the plug itself behaves is a component question; here it matters only because it changes the assembly order.
Compatibility checks to run on the drawing first
Several mismatches come up often enough that we look for them before any press setting is discussed. Comparing finish code, pipette diameter and seating method across the drawings catches most of them in minutes.
- Same finish, different body height. A 10 ml and a 15 ml bottle that both carry 18-415 take the same collar and bulb, but the distance from neck land to base is not the same. One pipette length used on both touches the base of the shorter body and cannot reach the last few millilitres in the taller one.
- Pipette diameter against collar bore. A collar made for a 7 mm pipette cannot hold a 5 mm pipette concentrically. The pipette sits off centre, the bulb seats crooked and drops fall to one side.
- Glass pipette in a socket cut for plastic. Rigid glass and softer plastic need different seat clearances. Forcing glass into the tighter socket can chip its cut end.
- Tamper-evident band on a short thread. The band must sit below the thread. If the thread is too short, the band binds before the collar gets down to its land.
- Seating method. A dropper meant to be located by a shoulder seat does not function on a bottle that expects base contact.
Choosing a route: off-line, in-line or hybrid
The route decides the equipment, the staffing and the checks. Volume, pipette material and how much handling the fill tolerates are what settle it.
| Route | How it runs | Suits | What it demands |
|---|---|---|---|
| Off-line | Pipette, bulb and collar are built into a finished dropper at a separate station; the capper then screws or crimps that unit onto the filled bottle | Rigid glass pipettes, short runs, contract fillers whose capper has no dropper feeder | Fill level must allow for the liquid the pipette displaces as the collar goes on; an overfilled bottle sends product up the pipette and wets the bulb |
| In-line | A station on the filling line inserts the pipette, presses the bulb and torques the collar one after another | High volume, plastic pipettes, and any bottle with a neck-seated inner plug, where it is the only practical method | Cycle time matched to the filler, an accumulation table between the two, a press head with a depth stop instead of a plain stroke, and rejects diverted ahead of the labeller |
| Hybrid | Droppers are pre-built off-line, fed from a hopper and pressed into the neck by machine after filling | Lines that want the controlled press away from the main line but no manual placement | A feeder and a pressing station sized to the dropper |
The off-line route has a quiet benefit: depth and squareness are set without line pressure, and components stay clear of the product until closing. The hybrid route is used widely and is easy to overlook when planning.
On any route, write down the moment the pipette first enters the liquid. That one fact fixes the fill level, the head space and whether the bulb could ever touch the product.
Assembly order with an inner plug
Only two sequences are valid, and which one applies depends on where the plug is retained. A wrong order is hard to trace, since the pack leaves the line looking right and fails days afterwards.
Plug seated in the neck bore
The plug goes in ahead of the pipette. The sequence is:
- Fill the bottle.
- Press the plug into the neck.
- Lower the pipette through the plug bore.
- Press the bulb onto the pipette.
- Torque the collar.
Reversing the plug and pipette steps means forcing the plug down around a pipette already in its way. Both the pipette tip and the plug skirt can be damaged, and a pipette shoved sideways ends up resting on the neck wall. The later symptoms are an uneven draw and a pipette that refuses to stay centred.
Plug held in the closure
Here the plug is fitted into the collar at an off-line station, checked for square seating, and the collar with its plug goes onto the neck as a single unit. Small cosmetic bottles often use this arrangement. It also explains why such a plug feels loose when handled alone yet is correct in the pack: the roof of the collar keeps it in place.
Pressing the bulb over a filled bottle
A pipette standing in the bottle passes any downward load directly into the glass. The press force therefore has to be carried by the tooling and the neck support, never by the bottle base. Grip the assembly by the collar while the bulb is pressed, and use a self-aligning head so the pipette cannot be loaded off its axis.
Once the collar is torqued, confirm two things whichever route was used: the pipette is still vertical, and nothing has raised the collar off its sealing land.
Stage-by-stage reference for the line
The table lists the stages in running order with the setting to fix at each one and what happens when it is skipped or forced. Treat it as a planning aid. Actual depth, force and torque values are worked out against the component drawing and the fill for each project.
| Stage | Joint affected | Setting or measurement | Failure if skipped or forced | Usual equipment |
|---|---|---|---|---|
| Incoming check of pipette and bulb | Pipette to bulb socket | Pipette length and outer diameter with tolerance; socket bore; cut end clean of burrs and chips | A burred or short pipette never seats fully, so the whole lot fails on retention and draw volume | Gauge, micrometer, visual station |
| Filling | Bottle to fill | Fill volume and head space measured with the pipette in place, not on an open bottle | Liquid rises up the pipette, wets the bulb and the bulb slips or loses grip | Filler with level control |
| Seating the inner plug | Plug to neck bore | Depth to the neck shoulder; squareness confirmed before the pipette comes down | A tilted or high plug opens a lopsided leak path and may hold the collar up | Press-fit station or hand press |
| Inserting the pipette | Pipette tip to bottle interior | Tip clearance above the base; verticality after insertion | Too long and it bottoms out, lifting the collar; too short and product cannot be drawn | Pick-and-place station or manual placement |
| Pressing the bulb | Pipette to bulb socket | Depth in millimetres, force in newtons and dwell time, logged as a window | Shallow seats leak air and under-dose; deep seats stretch the socket and grip fades after relaxation | Servo press with depth stop and force monitoring |
| Torquing or crimping the collar | Collar to neck finish | Closing torque window set with the dropper fitted, not on a bare bottle | The collar hits torque short of the land, holds the reading and weeps anyway | Torque head with feedback, or crimping head |
| Seal recheck | Whole assembly | Inversion or vacuum test using the real fill at filling temperature | A path that stays dry upright shows up after transit as a wet collar and stained label | Leak or inversion test station |
| Drop-rate and dose recheck | Whole assembly with fill | Drops per millilitre and aspirated volume after a set number of squeezes | The consumer finds the drift first, usually as an under-dosing complaint | Bench test with stopwatch and balance |
| Changeover and first-off | Tooling to neck finish | Nest, gripper and press tooling identified by finish; settings recorded per item | The previous depth setting is carried over and an entire run is pressed wrong | Documented changeover with a first-off unit |
Setting the press depth window
Depth is measured from the bulb flange to the cut end of the pipette. It has a lower and an upper limit, and complaints arrive from both.
Too shallow. The bulb holds only the mouth of the socket, so sealing relies on a narrow band of elastomer. Air comes in with the liquid on every draw, the bulb part-fills with air and the dose drops, then drops further as the joint loosens. Nothing is visible. On the line the sign is doses that read low far more often than high, and a bulb that needs a longer squeeze than expected.
Too deep. The socket is stretched beyond its elastic range and the elastomer takes a compression set. Grip that seemed firm at assembly is weaker a month on, and a consumer lifting the cap can pull the bulb clean off the pipette. Deep seating also stiffens the diaphragm, changing the squeeze effort and sometimes cutting the delivered volume even while the joint is still tight.
The fix for both is a positive stop on the press in place of operator feel. Two more conditions sit alongside depth:
- Cut quality. A ragged edge, burr or small chip keeps the pipette from reaching its seat. It behaves as a short insertion whatever the press is set to.
- Verticality. A bulb pressed off axis, or a collar bore that is not concentric, leaves the pipette leaning. The tip drifts toward the wall and the specified clearance disappears.
Both show at a first-off check, which is a far cheaper place to find them than in a finished batch.
Press force, dwell, rebound and temperature
Bulb sockets in natural rubber, nitrile, silicone and thermoplastic elastomer all stiffen under compression, relax with time and change with temperature. Stroke alone or force alone is therefore half a setting. Stroke governs depth and so contact length; force governs interference and so grip; and the link between them is socket stiffness, which shifts from lot to lot.
Specify both. A servo press with a depth stop and force monitoring drives to the target depth and records the force it took. That trace exposes a lot change: reaching the usual depth at clearly higher force means a harder socket that will relax and grip differently. Include dwell time too, as an elastomer released at once springs back before it has conformed to the pipette surface.
Rebound links the press to the dose
After each squeeze the bulb must recover fast enough to pull the intended volume up the pipette. An over-compressed socket, or a bulb that took a set in storage, recovers slowly and delivers a little less each time. To expose it, cycle an assembled unit a defined number of times and measure aspirated volume on the first, the tenth and the last cycle. A falling sequence is a rebound fault, which the end user experiences as a dropper that has stopped working.
Hall temperature
A cold socket is stiffer: at a given force it seats less deeply and then grips harder. A warm one seats deeper and grips less. Record press hall temperature in the specification, and where the hall is uncontrolled, repeat the first-off check whenever the temperature moves materially.
What the station must provide
- A self-aligning or floating press head, so the pipette cannot be bent.
- A gripper that takes hold of the collar, not the bulb.
- A nest supporting the neck instead of the base.
- A reject gate at the station exit, since a unit pressed to the wrong depth gains nothing by going on to the capper.
Tracing the common rejects to their stage
Three faults make up most end-of-line rejects. Each leaves a signature that identifies the stage responsible.
Leaking collar
The signs are a wet thread, a stained label or a failed inversion test. There are four usual causes:
- The collar reaches specified torque without reaching its sealing land. This is a finish-to-collar match problem, not an assembly one, and it is the most often misdiagnosed fault on a dropper line.
- The sealing element is missing, inverted or was damaged at the capper.
- The pipette is long enough to land on the base and push the collar up as it is tightened.
- A neck-seated plug stands too high and props the collar off its land.
Measure the collar-to-land gap and the tip clearance on the same unit and the four separate in one examination.
Dose drift
The pack delivers under volume, or a volume that changes with use. The pipette-to-bulb joint is almost always responsible: a shallow seat, a burred end that never seated, a socket with compression set, or an off-axis bulb leaving the pipette against the wall. Measure aspirated volume on a freshly built unit and again after a set number of cycles. Low from new indicates seat depth; falling across cycles indicates rebound or relaxation.
Detached parts
A pipette leaves the bulb, a bulb separates in transit, or the whole dropper lifts out with the cap. The root cause is nearly always retention that relies on friction alone. Socket interference weakens with any relaxation, and a bulb held only by the collar moves if the collar is under-torqued. Define a pull-out force and measure it on a sample across the glass and elastomer tolerance band, not on a single nominal unit.
Glass fragments
Rarer and more serious: a chipped pipette end, or a pipette that scraped the inside of the neck going in, can put glass into the fill. It justifies its own visual check on a sample of pipettes and necks.
Rechecks on the finished pack
Each part having passed incoming inspection proves little, since seal and dose are properties of the assembled system. This is the step most often deferred and the one that cannot be. Five checks cover it:
- Leak check on the closed pack, upright and inverted, with the real fill at filling temperature. Inversion is the minimum; a vacuum or pressure test is added for volatile products or demanding transit routes.
- Torque on a sample of closed units using a calibrated tester, judged against a window that was set on a pack with its dropper fitted.
- Drops per millilitre with the actual fill. Surface tension and viscosity both shift the count, and water reproduces neither.
- Aspirated volume after a defined number of squeeze cycles, the only direct test of rebound.
- Visual check of pipette verticality and tip clearance on that same sample.
Sampling and records
If the buyer works to an AQL based plan, agree sample size and acceptance number ahead of the first run, and apply identical checks at first-off, in-run and final inspection. Without a stated plan, a sensible default is one first-off unit, periodic samples during the run, and a final sample pulled from packed cartons. Cartons show damage that the end of the line does not.
Run the rechecks again after any changeover and whenever one of four input lots changes: glass, pipette, bulb or fill. Keep those four lot numbers on one sheet with the press depth and force window, the closing torque window and the measured drop count. That sheet lets a defect be pinned on a component instead of an operator. Lacking it, a later complaint can only be answered by testing current stock, which says nothing about what shipped.
Running the job by hand
Hand assembly is a sound choice for sampling, short runs and bulbs that cannot take a machine press. Its ceiling is set by three things that degrade together over a long shift: force consistency, cycle time and attention.
Force goes first. A hand press or simple lever varies between people and within one person through the day. The finished pack hides it, as a bulb pushed slightly too far looks normal, and it surfaces later as a spread in drop count. Take judgement out instead of trying to train it:
- a depth-setting block that stops the press at a fixed height;
- a bench lever press instead of a hand tool;
- pre-counted component kits, so no unit is built from a part-used bag;
- a torque limiter or graduated screwdriver for the collar, so torque no longer depends on wrist strength.
A defensible manual run also carries a documented press depth and torque setting, a first-off check on the assembled pack, and periodic samples for pipette pull-out force and drop count with the real fill.
No fixed quantity marks the switch to a machine. The signal is the manual station becoming the line's constraint, with filling and capping waiting on it, or the drop-count spread over a shift no longer fitting the specification even with fixtures in use.
Related decisions covered elsewhere
How capacity, dropper length and dose count relate, which is the sum behind "how many doses does this bottle hold", is worked through in our dropper bottle size reference. For an application where the dose is small, the fill costly and drop count drives the whole pack, see the notes on essential oil bottles.
Frequently asked questions
Should the dropper be fitted on the filling line or afterwards?
Pipette material, volume and the fill decide it. Glass pipettes, short runs and fillers lacking a dropper feeder point to building the dropper off-line and letting the capper apply it. High volume, plastic pipettes or a neck-seated plug point to in-line insertion. Pre-building off-line and pressing on by machine after filling is often the best compromise between the two.
Does the inner plug go in before or after the dropper?
Before, if the plug seats in the neck bore. If the collar holds the plug, seat it in the collar off-line and apply both together. The one order never to use is a neck-seated plug fitted after the pipette is already standing in the bottle.
How deep should the bulb be pressed onto the pipette?
Far enough for the socket to grip a defined length of pipette, and no further than the socket's elastic range allows. A window is used instead of one value since socket bore and pipette diameter both vary within tolerance. Hold it with a positive stop on a press, not by hand.
Why does the collar leak when closing torque is correct?
Torque measures effort, not sealing. A collar can reach its figure with the land still clear of the neck, or be held up by a long pipette or a high plug, or be missing its sealing element. Setting the torque window on an assembled pack keeps that fault from being written into the specification.
How many units can be assembled by hand before a machine is needed?
No number applies generally. Hand assembly works until the station holds up the line, the operator-to-operator spread in depth and torque pushes drop count out of specification, or the settings cannot be held attentively for a full shift. Fixtures, a bench lever press and in-run sampling extend how long that takes.
What makes a dropper deliver a smaller dose over time?
Usually air entering the pipette-to-bulb joint, lost bulb rebound, or a pipette leaning on the bottle wall. Comparing volume on a new unit with volume after a set number of squeezes separates the first two causes from the third.
What should I send to get an assembly proposal?
Send these six items:
- the neck finish code, or the bottle drawing with the finish called out;
- batch size and expected run pattern;
- the route you plan to use, or the equipment already on site;
- the fill and its viscosity at filling temperature;
- the dropper and collar components you intend to buy;
- the discharge you need, as volume per dose or drops per millilitre.
From that we can propose an assembly sequence, a starting press depth and force window, a closing torque window and the recheck list that confirms the pack ahead of a committed run. Commercial terms are quoted per project against the finished specification.