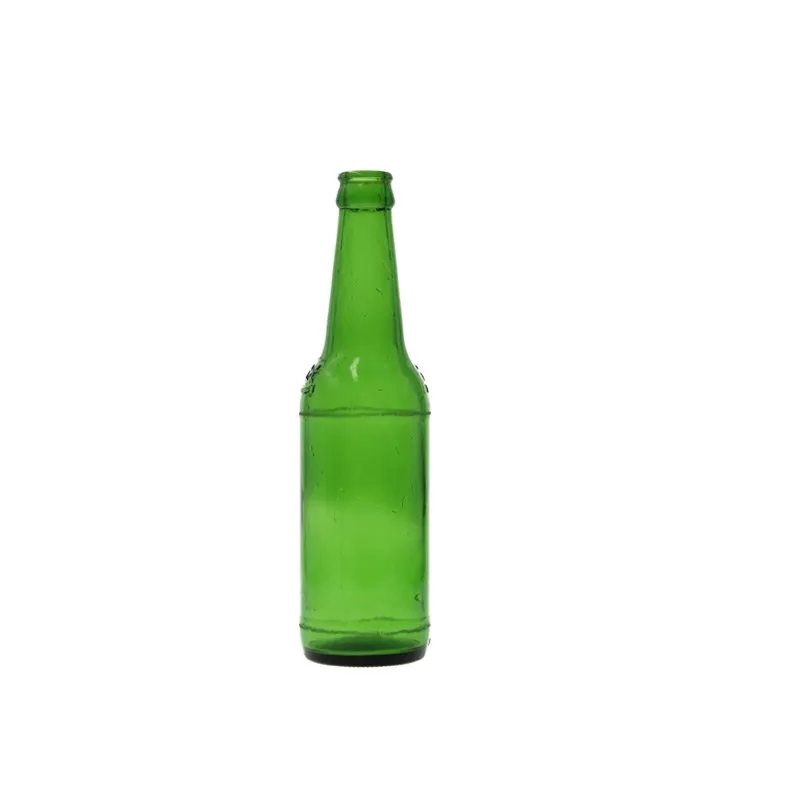
Filed under empty beer bottles; the moulds we quote for this are pictured at the foot of the page.
A crown cap glass bottle seals only when three things are matched to each other: the finish profile cut into the mould (most often 26-611 or 26-600), a crown made for that profile, and a crowning head set for that crown. Matched and correctly crimped, a 26 mm pry-off setup typically carries ales and lagers up to roughly 3.0 to 3.2 CO2 volumes; anything higher needs a pressure test on the finished assembly. Because the finish lives in the neck ring of the mould, it is the one part of the package you cannot correct later by switching crown or bottle supplier.
Fix the finish first, then the crown, then the crowner
Crowns are usually bought like consumables: a bin next to the filler, reordered on unit cost. That habit is harmless once the bottle exists. Before it exists, glass finish, stamped metal shell and crowning head form one mechanical joint, pressed together along a set axis with a set force. Alter any of the three and the joint needs qualifying again.
The trouble typically starts with an offer that states capacity, colour and height and shows the neck only in a photo. Bottles are made and filled, and later a share of them weep at the crimp or go flat on the shelf. Glass, crown and crowner each measure inside their own tolerance, so nobody is individually at fault. Nobody ever checked them as a set.
We work in a fixed sequence for that reason:
- Choose the finish profile, since it is cut in steel.
- Choose a crown qualified on that profile, never the reverse.
- Set the crowning head to the crown and write the setting down as a line recipe instead of leaving it to the operator on shift.
- Check the carbonation target against what the whole stack can hold: finish, crown, liner and glass wall.
A project specified this way can move to another bottle source later with no change on the line. One that skips the sequence tends to end with a second set of moulds.
26-611 and 26-600 are different profiles
Crown finish codes pair a nominal diameter in millimetres with a profile suffix. Many buyers read only the 26. The suffix is where the working geometry sits: the diameter at the crown seat, the shape of the retaining bead, how high the finish stands above that bead, where the neck ring sits below it, and the guiding surface that centres the crown before the crimp.
26-611 is in wide use on beer and beverage bottles traded internationally. 26-600 shares the nominal diameter and also takes a crown, and in a photo the two necks are hard to tell apart. On the crowner they can part ways, because seat diameter and bead position determine how much metal has to be folded and where the liner gets squeezed. Rollers dialled in for one profile can form a crown on the other that looks right and still fails under pressure, the liner having never reached its intended compression. That is how "the crowns leak" and "the bottles are in tolerance" both end up being true.
Pry-off and twist-off
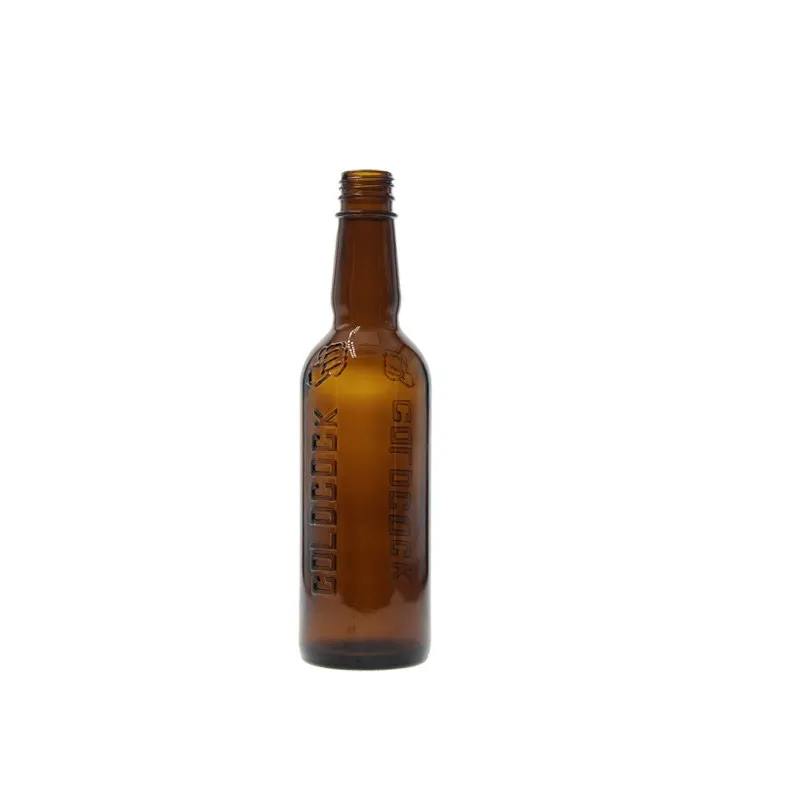
A pry-off crown comes off with an opener, so nothing in the finish has to let it rotate and it tolerates a harder crimp. A twist-off crown is turned off by hand and needs an interrupted, thread-like bead. These are separate finishes sharing one nominal diameter, and putting a twist-off crown on a pry-off neck, or the other way round, gives a mismatched pair. Leaving the choice to be sorted out at the filler is the commonest reason a capping head has to be changed.
Neck ring position
The neck ring is the collar under the finish that grippers and neck-handling equipment hold. Its distance from the top of the finish fixes the transfer height and the way the crowner approaches the bottle. Identical finishes with neck rings at different heights are not always interchangeable on a neck-handling line.
Crown finishes beyond 26 mm
Some large-format and single-serve bottles carry a larger crown finish. It does not accept 26 mm crowns, and it is normally chosen because of the closing equipment already installed at the filler. Where the closing head is fixed, the finish family is fixed with it, and the profile within that family is the only open variable.
Four finish dimensions that produce the seal
A finish is a group of dimensions, each with its own allowed deviation. Four of them interact with the crown directly.
| Dimension | What it does | What goes wrong when it drifts |
|---|---|---|
| Crown seat diameter | Outer diameter where the liner meets the glass | Oversize: too little liner compression, so the seal relies on crimp force alone. Undersize: the skirt begins folding before the crown is seated and the liner is squeezed unevenly around the rim |
| Finish height above the bead (crown fit height) | Sets how much skirt is available to tuck under the bead | Too little: an incomplete fold that can lift under pressure. Too much: an over-fold that work-hardens the bend and makes the crown hard to remove without tearing the liner |
| Bead, or crown retention ring | Its outside diameter, height and lower-edge radius give the skirt something to hook under | Weak mechanical retention: the bottle seals in a static test and still sheds its crown on a warm pallet |
| Roundness | Total variation of the finish outside diameter around the circumference, sometimes stated with concentricity of bore and body | An elliptical neck loads the liner harder on one side, giving a slow, intermittent weep on a fraction of bottles |
Two points from that table deserve emphasis. Sealing and retention are separate jobs done by different parts of one crown: the liner seals, the folded skirt holds. And roundness is the dimension most likely to slip through receiving inspection, since a go and no-go gauge will accept a neck that is oval within the gauge limits.
Bore diameter matters too, though mainly for fill nozzle clearance and foaming. A bore change shows up as a filler adjustment before it becomes a closure question.
How the crimp forms, and its two failure modes
Crowning is cold forming. A shell with a compounded liner sits on the finish, then rollers or a die close the skirt inward beneath the bead. The steel deforms permanently; the liner is trapped between crown panel and seat. It seals by pushing back elastically into the tiny irregularities of the glass surface.
How far the skirt is deformed is the setting operators adjust most often, and there are two ways to get it wrong:
- Under-crimped. The fold stops short of closing under the bead. The crown can look fine, yet retention is low and the liner sits below its working range, so it cannot follow the small dimensional shifts that come with warming and rising pressure. Leaks that surface after pasteurisation or after time in a hot container usually trace back here.
- Over-crimped. The bend is worked past what the metal can take and the liner is crushed beyond elastic recovery. Such a crown may hold at first and lose pressure later, with no reserve left for the pressure cycle. The liner can also tear at the fold, which opens a direct leak path.
The target lies between the two: skirt fully closed under the bead, liner inside its working range, no sharp crease or visible fold line on the skirt.
Three factors decide where a given line lands:
- Alignment. The head has to be concentric with the finish and the bottle upright. Even a fraction of a degree of lean produces a crown tighter on one side, the signature of an off-centre crimp.
- Closing force and tool condition. Roller or die wear shifts the effective crimp gradually.
- Liner against seat. A soft liner forgives a slightly rough seat. A thin, hard one does not and calls for a tighter seat tolerance. Switching crown source to save money can change the liner compound while every crown dimension stays the same, leaving the old crimp setting wrong.
Finish, crown and carbonation reference
The combinations below are the ones we see most in crown cap enquiries. The carbonation bands reflect common practice, not a certified limit: what a bottle holds depends on the whole assembly and on how the glass is distributed in the wall. Every band assumes a matched crown and a correctly set crowner, and the signed drawing governs the order.
| Neck finish | Crown it takes | Typical carbonation band (CO2 volumes) | Crowning note | Usual leak cause | Confirm with the supplier |
|---|---|---|---|---|---|
| 26-611 | 26 mm pry-off crown, or a twist-off variant matched to the profile | Roughly 3.0 to 3.2 at the top end for typical ales and lagers; above that only with a validated setup | Rollers set to the drawing's seat diameter, setting kept as a recipe, crimp verified at each head change | Crown was qualified on 26-600, so the liner falls short of working compression | Seat diameter with tolerance, finish height above the bead, liner compound, proof the crown was validated on this exact finish |
| 26-600 | 26 mm pry-off crown matched to 26-600 | In line with 26-611 when matched, as the assembly sets the capability, not the code | A 26-611 head setting does not carry over: re-dial and pressure-test before the run | Head alignment left over from the previous product, giving a one-sided crimp | Availability of the crown and of crowner change parts; bead radius on the drawing |
| 26 mm twist-off crown finish | 26 mm twist-off crown only | Same practical band as matched pry-off, with less margin against over-crimping | Lighter crimp, because the interrupted bead will not stand an aggressive fold | Pry-off crown on a twist-off neck, or the reverse | Opening method the market expects; thread-like bead dimensions on the drawing |
| Larger crown finishes outside the 26 mm family | Matched crown from the same family | Depends on the assembly; cannot be read across from 26 mm figures | Check closing head capability before specifying; change parts are normally needed | Crown ordered by diameter alone, wrong profile within the family | Closing head model, change parts on hand, the profile code and not just the nominal diameter |
| Proprietary or modified crown finish | Crown developed to the drawing | Whatever the validation test shows, not a catalogue band | Pressure and drop trial on the finished assembly before committing to production | No baseline test, so a marginal crimp passes as normal | Whether a drawing and a validated crown source exist, and who holds the tooling |
Line conditions to confirm before the first run
Change parts for this finish
Crowning heads differ in the diameters and profiles they accept. A head running 26-611 may need change parts for 26-600 despite the shared 26 mm. Ask whether those specific parts exist and whether they are physically on site.
Fill height and headspace
Bottle carbonation follows from beer pressure and temperature at the filler together with the headspace above the fill line. Two bottles whose brimful capacity differs by fifteen millilitres reach different headspace pressures at an identical fill height, and the crown feels that. When the bottle changes and the finish stays, this variable moves first, and it shows as foaming at the filler before any leak.
Peak temperature in transit
A pallet heating up inside a container pushes internal pressure far beyond the filling value. That peak is what the crown really has to hold. Validate at the hottest condition the shipment can realistically meet, on bottles closed by the production crowner at its production setting.
Inspection method
Only a pressure test on samples confirms the crimp did its job. Run one at start-up, after every head change and after every change of crown supplier. No operator, however experienced, can see under-compression: the metal looks correct at crimp values already too light to hold. If the purchase order includes receiving inspection, check the drawing's finish dimensions under a documented sampling plan, not against a single bottle saved from the pre-production shipment.
Leak triage in order
The reflex when a bottle weeps is to turn up crimp force. Resist it. Over-crimping is a failure of its own and masks a mismatch without curing it. Go through the checks below one at a time, changing a single variable per trial.
- Read the pattern. All leakers from one head and none from its neighbour points to that head. Leaks on every head but confined to one pallet or shift point to a batch or a changed setting. A low, random rate across heads and batches suggests finish roundness or liner inconsistency. Pattern narrows the search faster than measuring does.
- Confirm crown and finish belong together. Put the crown specification beside the finish code. A crown qualified on 26-611 and run on a 26-600 neck gives good looks and poor pressure retention, and extra force only distorts the liner further.
- Check alignment and verticality. A tilted bottle or off-centre head leaves the crown tight on one side, loose opposite, so the leak sits at one clock position. Mark that position on a batch of failures. Clustered marks mean a mechanical alignment fault, not a force problem.
- Measure the finish to the drawing. Seat diameter, height above the bead, bead diameter and roundness, taken with the gauges the plant itself uses. Judge against the drawing, not a nominal figure. A neck that satisfies a sales specification but misses the drawing tolerance is out of tolerance.
- Pressure-test the assembly. Use filled or simulated samples at expected peak temperature and production crimp settings. If the target is held with margin, the closure is cleared and the cause is further down the line, typically the labeller, the pasteuriser or the pallet.
- Only then adjust crimp force. Move in small increments, retest each time and record where you finish. Settings found by trial and never written down vanish at the next shift change, and the same leak comes back months later.
Never change crown supplier, liner specification and crimp force together. If the leak stops you will not know why, and you will not be able to repeat it. Keep the samples from every trial.
What to send us for a finish match
Two figures make a useful answer possible: target carbonation pressure and filling line speed. Pressure determines the finish family and crown specification, since the joint must survive the transit peak. Speed determines the crowning head, its change parts, and whether the crimp stays inside its window at the machine's cycle time.
Add the bottle capacity, the finish code if one is already fixed, the destination market and an expected annual volume band. From that we can propose a finish with seat diameter and finish height called out, the crown specification suited to it, the points to raise with your crowner supplier, and the dimensions worth writing into the purchase order. We then match the project to a glass plant that can hold them.
This page deals only with the crown interface, and mixing it with format selection is how a bottle ends up crowning perfectly and jamming at the labeller. If the finish is still open, the discussion starts with beer bottle formats and how finish, diameter and height are chosen together. Capacities, heights and finish codes for the common formats, including how to read a brimful figure, are set out in the beer bottle size comparison, and shoulder behaviour of the short-neck format is covered under stubby beer bottles. If you are still weighing a single-use crown against a resealable wire bail and gasket, compare the two using the notes on swing top beer bottles before any tooling is committed.
Frequently asked questions
Can one crown cap run on both 26-611 and 26-600 bottles?
Sometimes, and it must be proven each time. A 26 mm crown may sit on both and under-compress its liner on one. Lines that have to run both should treat them as two products with their own head settings and recipes, pressure-testing after each changeover. Standardising the range on a single finish keeps the line simpler and the leak rate lower.
How much carbonation will a crown-capped glass bottle hold?
No single number applies. The limit comes from finish geometry, crown specification, liner compound, crimp quality, glass wall distribution and headspace acting together. Typical ales and lagers fall within what a matched setup holds with margin. For anything higher, ask for a pressure test at transit peak temperature on the production crowner before you accept the target, and read catalogue pressure figures as indications only.
Why do leaks appear on some crowning heads and not others?
The cause is mechanical: slight misalignment, worn rollers, or a spring pack delivering a different effective force. Each leaves the crown tight on part of the circumference and under-compressed elsewhere. If marked leak positions cluster, re-set the crimp on that head; the bottle is not the problem.
Does a new bottle supplier mean a new crowning head setup?
Only when the profile changes, which you have to verify. Two suppliers can each offer "a 26 mm crown finish" and cut different suffixes. Get the finish code and seat diameter from the drawing and compare them with your current specification. A match lets you keep the head setting. A difference means re-qualifying the crimp and pressure-testing ahead of the first production pallet.
Which finish tolerances belong in the purchase order?
List dimensions, each with its own permitted deviation: crown seat diameter, finish height above the bead, bead diameter and height, neck ring diameter and position, roundness, bore, brimful capacity and overall height. Add a sampling basis (ISO 2859-1 is a common reference) and define critical, major and minor defect classes so that finish dimensions sit at the tightest level. One line giving height with no tolerance is not a specification.
How can a suspected crimp leak be checked without a laboratory?
Do the inexpensive checks first: compare crown and finish codes, mark leak positions to reveal a one-sided crimp, and gauge the finish against the drawing. Then pressure-test production-crowned bottles at the hottest temperature you expect in transit. Once the assembly holds target pressure with margin, leave the crowner alone and look at the pasteuriser, labeller and pallet.