One of our guides on bulk mason jars; start there for the overview.
Quick answer
How do you sterilize mason jars?
Wash the jars in hot, soapy water and reject any with a chipped rim. Stand them on a rack in a pot, cover them with at least 1 inch of water and boil for 10 minutes below 1,000 feet, adding 1 minute for every further 1,000 feet. Keep the jars hot and fill them within the hour. The USDA calls for pre-sterilized jars when the water-bath processing time is under 10 minutes; flat lids are washed, not boiled, and never reused.
| Elevation | Boil time |
|---|---|
| Below 1,000 ft | 10 minutes |
| 5,000 ft | 15 minutes |
| 6,000 ft | 16 minutes |
The reference way to sterilize mason jars is to wash them, stand them on a rack in a pot, cover them with an inch or more of water and hold a rolling boil for 10 minutes. Above 1,000 feet of elevation, add 1 minute for every further 1,000 feet. A 275°F (135°C) oven for at least twenty minutes and a dishwasher sanitize cycle are workable alternatives; the microwave is not endorsed by extension services. Whichever route you take, keep the jars hot and fill them within the hour.
Which jars need sterilizing, and which only need to be clean
A washed jar can still carry yeast, mold spores and bacteria, either left on the glass or settled out of the air. Seal those in with moist, nutrient-rich food and little oxygen and they have what they need to grow. Canning heat kills a great deal, but a sterile jar means fewer organisms to deal with from the start and a wider safety margin.
How much that matters depends on where the jar is going:
| Use | Jar preparation | Reason |
|---|---|---|
| Boiling water bath, processing time under ten minutes (jams, jellies) | Sterilize first | USDA guidance for short-process, high-acid recipes |
| Boiling water bath, ten minutes or longer | Hot wash; pre-boil optional | The USDA treats the processing itself as sufficient sterilization |
| Pressure canning of low-acid foods (green beans, corn, meats, soups) | Clean jars; sterilizing not required | The process is long enough, and it is the only safe method for these foods |
| Refrigerator, freezer, quick pickles eaten within a few weeks | Hot, clean and dry | No long stay at room temperature |
| Dry goods under vacuum (rice, beans, dehydrated herbs) | Clean and dry | Without moisture nothing grows |
| Fermented hot sauce, kombucha bottling, shelf-stored gifts | Sterilize | Stray mold can spoil the batch |
The pressure-canning row exists because of Clostridium botulinum, the bacterium behind botulinum toxin. Its spores come through ordinary boiling and are only reliably destroyed at the 240–250°F reached inside a pressure canner, so no amount of jar sterilizing makes a water bath safe for low-acid food.
Many extension services skip the distinctions and tell canners to sterilize every jar every time, since it takes about ten extra minutes. If you seal dry staples with a vacuum sealer made for mason jars, remember that the clean-and-dry rule ends as soon as a recipe adds liquid and is meant for the shelf.
Wash and inspect before any heat
Sterilizing does not clean. Grease film, dried food, label glue and dust all survive boiling water, so every jar gets hot soapy water and a bottle brush first, with extra attention to the threads at the rim. On reused jars, soak labels off in warm water with a spoonful of baking soda; rub cooking oil into any adhesive that stays, then wash it away. Rinse well: soap film clouds glass and can stop the lid's sealing compound from gripping.
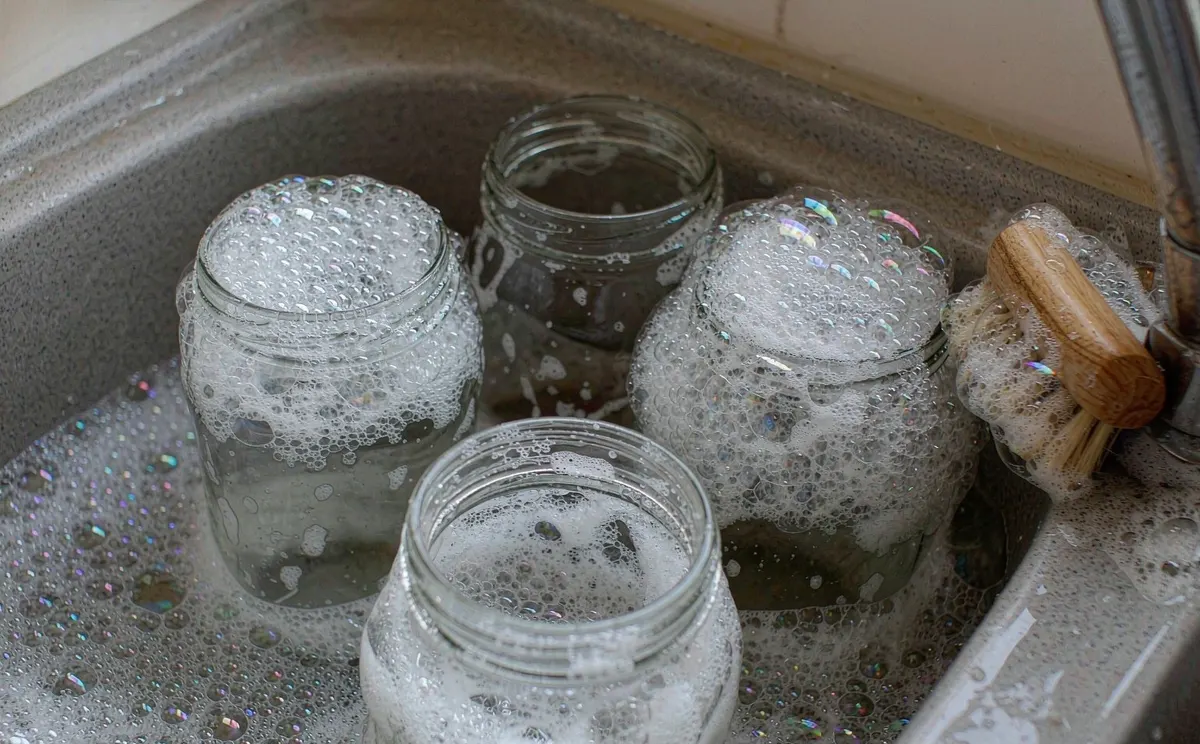
Washing is also the moment to sort. Run a fingertip round each rim and discard any jar with a chip, nick or hairline crack, because a damaged rim will not seal and a cracked jar can break apart in hot water. Set aside etched jars too. Etching is the permanent milky haze left by mineral-heavy dishwasher cycles, and it weakens glass over time.
Sterilizing methods compared
| Method | Settings | Best suited to | Limits |
|---|---|---|---|
| Boiling water bath | 10 minutes at a rolling boil below 1,000 feet, plus 1 minute per further 1,000 feet | Any shelf-stable canning; the USDA standard | Needs a rack and a jar lifter |
| Oven dry heat | 275°F (135°C), at least twenty minutes | Large batches of jam | Never replaces the recipe's processing time |
| Dishwasher | Sanitize or hottest cycle, top rack | Small batches; keeping jars hot | Time and temperature are harder to verify |
| Microwave | Jar half-filled with water, heated until it boils | Last resort only | Uneven heating; not endorsed by extension services |
Boiling water bath
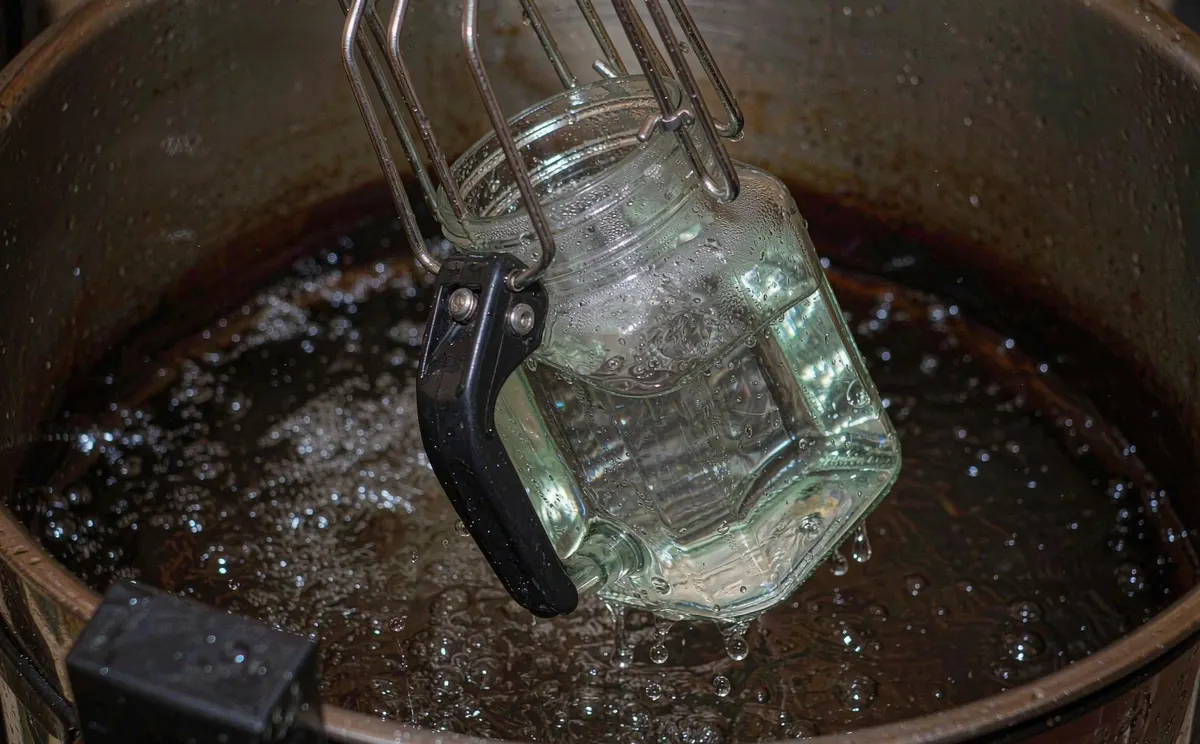
Put a rack in the base of a large pot or water bath canner; a folded kitchen towel will do if you have no rack. Stand the mason jars upright, then fill both pot and jars with hot tap water until the jars sit at least one inch under the surface. Start the clock only once the water reaches a rolling boil.
The altitude correction is there because water boils cooler the higher you go. At 5,000 feet the boil runs 15 minutes; at 6,000 feet, 16 minutes.
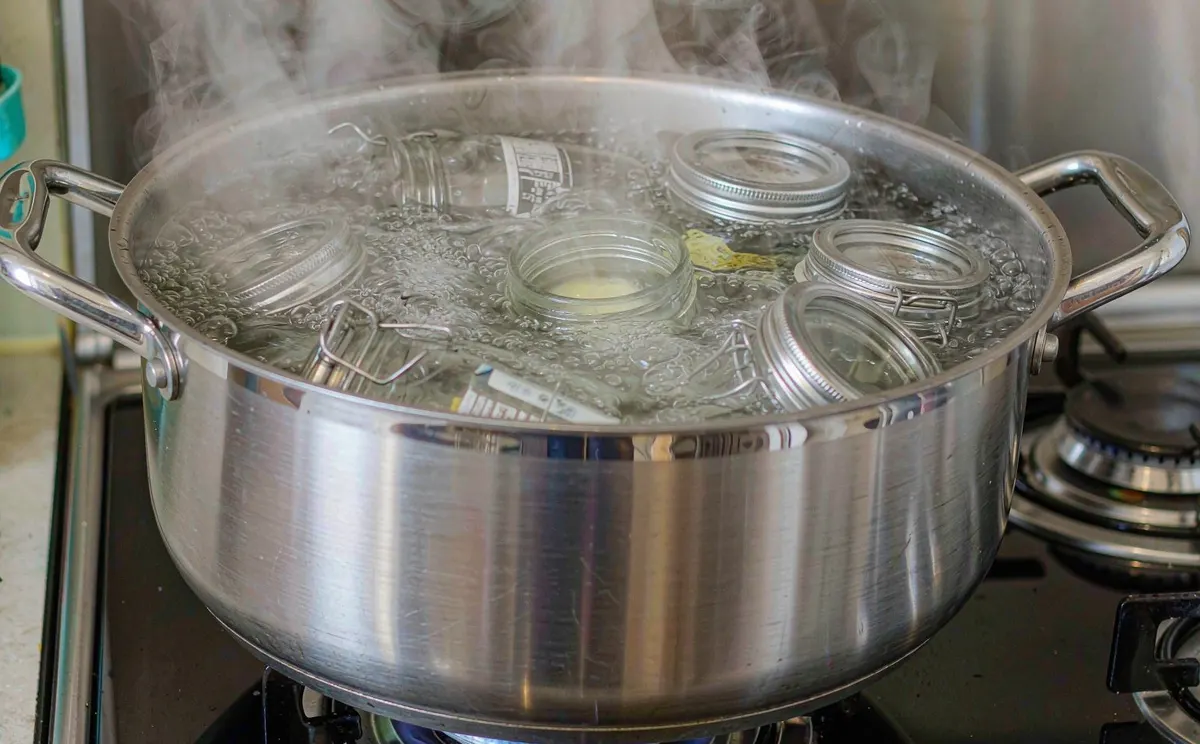
Leave the jars in the water until the food is ready. Lift them out one by one, tip the water back into the pot and stand them on a clean towel. A hot jar takes hot jam without cracking and pulls a more dependable vacuum, which is why the pre-boil remains worth doing even for recipes long enough to make it optional.
Oven dry heat
This is the usual approach in British and Australian preserving. Set the oven to 275°F (135°C) and no higher, since more heat risks weakening the glass or shocking it. Place the clean, still-wet jars upside down on the rack, or upright on a baking sheet lined with newspaper, and give them at least twenty minutes. Then switch the oven off and leave them inside until you fill.
The oven only delivers a clean, hot container. Filled jars still need the full water-bath or pressure-canning time the recipe sets, because nothing about the oven step makes the food shelf-stable.
Dishwasher
A machine with a sanitize or high-temperature cycle takes the least effort. Load clean jars on the top rack, choose the hottest program and time it to finish as the recipe comes off the stove. Keep the door shut until you need them so the residual heat holds them near filling temperature.
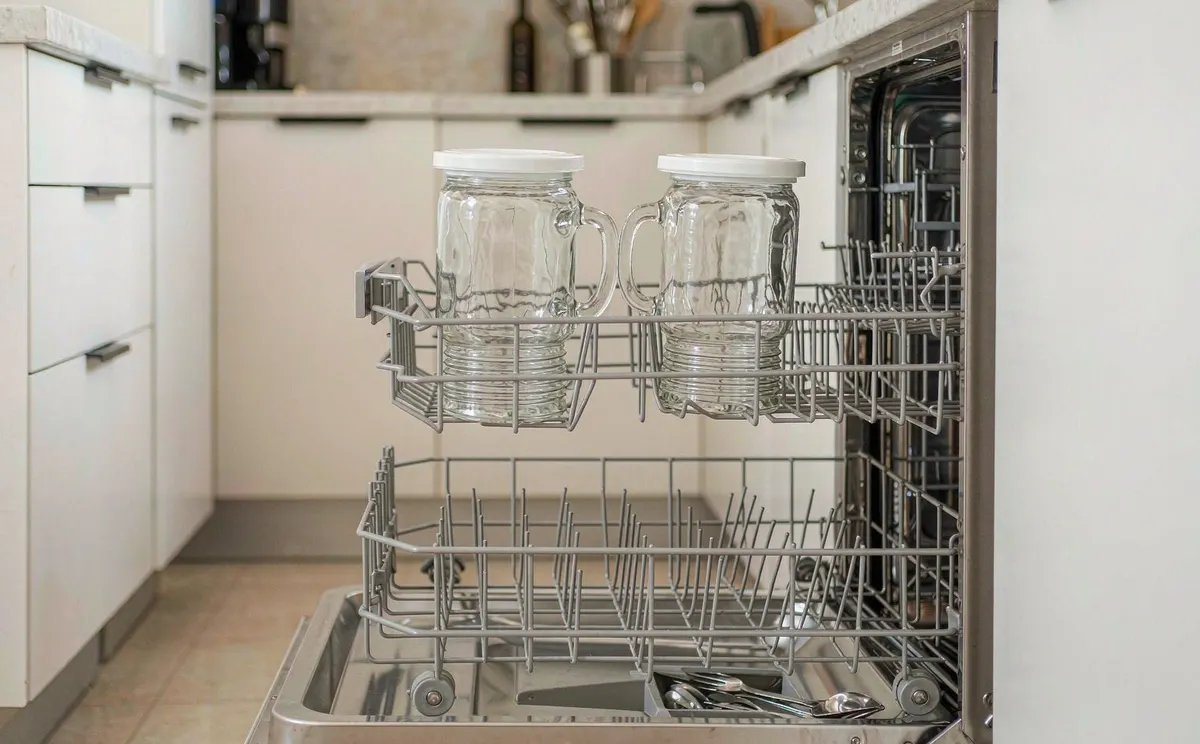
It suits small runs of refrigerator pickles or jam that will be processed or eaten soon. For long shelf storage on a short processing time, boiling is still the standard to follow, because you can verify both the time and the temperature.
Microwave
The social-media version, wet jars for two minutes on high, deserves doubt. Microwaves leave cold spots where microbes survive, and an empty or nearly empty jar can overheat. Whether a given jar counts as glass that is safe to microwave depends on its formulation and condition, and standard mason jars were never designed for it. Boiling water and the oven involve no guesswork.
Lids and bands are handled differently
Flat canning lids, the discs carrying a ring of sealing compound, should not be boiled hard. Older advice was to simmer them. Lid makers now say the compound softens at 180°F, so a wash in warm soapy water and a hold in hot, not boiling, water until use is enough; long boiling can damage the compound and cause seals to fail.
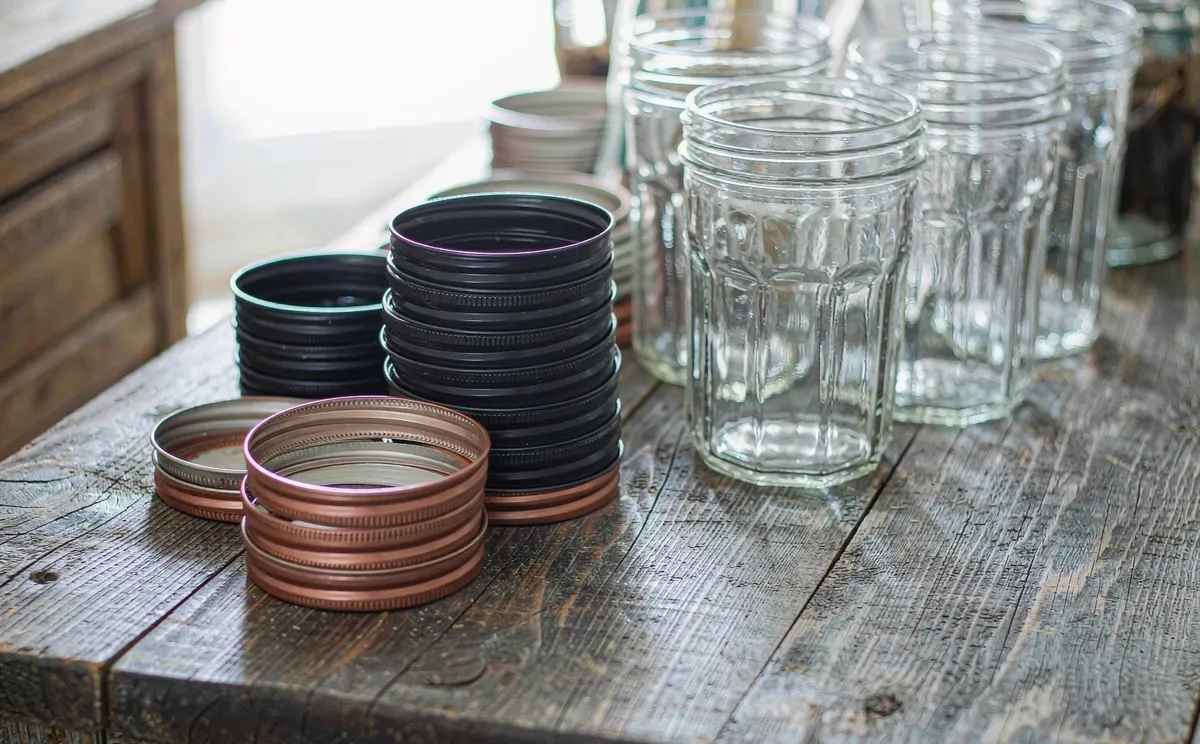
Screw bands never touch the food and come off after processing, so clean is sufficient. Flat lids are single-use: the compound compresses for good the first time it seals, and a used lid can look sound yet fail to hold vacuum. Keep old ones for dry storage. Bands and jars last for years.
Keeping a sterile jar sterile until it is filled
Handling matters more than the drying method. Air-drying upside down on a rack is best. If you must use a towel, pick a freshly laundered one kept for the job, as kitchen towels are among the germiest things in a home, and never wipe the inside of a jar by hand.
Touch only the outside, keep jars upright and fill them within the hour. After several hours in open air, dust and airborne spores have settled back in and the jar needs sterilizing again. Sterilize in batches sized to the recipe's yield, not the whole shelf at once.
Use a jar lifter. It grips below the threads, keeps hands out of boiling water and lifts without tipping, so the water drains into the pot. Tongs, oven mitts and improvised grips raise the odds of a dropped jar or a scald. Set filled jars into the canner vertically as well, because a tilted jar lets food creep onto the rim, and a smear there can break the seal.
Mistakes that cause cracked jars and failed seals
- Cold jars into boiling water. Thermal shock cracks them at once. Warm them with hot tap water first.
- Hot food into cooled jars. Boiling jam in a jar that has gone cold on the counter invites breakage and a poor seal.
- A second use for flat lids. The compound only works once.
- Sterilizing hours early. Air and dust undo the work; do it as close to filling as you can.
- Boiling the lids. Hot water at roughly 180°F is all the modern compound needs.
- No wash beforehand. Heat does not shift grease or label glue.
- A crowded pot. Water has to move freely round every jar for even heating.
Specifying jars for commercial filling
A food brand filling five hundred jars of salsa works with the same physics as a home cook filling five. The difference is the equipment: commercial dishwashers, steam tunnels or rotary jar washers. Many co-packers do no washing in-house and instead buy jars that arrive pre-washed, or specify supply whose manufacturing and palletizing keep the interiors food-ready. Taking large-format mason jars or any other size from a single production run also gives consistent rim quality, which lowers seal failures on the line.
Choose the jar for the process before the label. A wide-mouth pint fills faster with pickles and presents them better, while the larger sizes suit cold-brew and family-size sauces. On lidded glass jars, a lug or continuous-thread finish decides which capping equipment you need. The same airtight glass carries on working after the sale, which matters to buyers of pantry storage containers as much as to canners.
On the spec sheet, check capacity, finish and thermal-shock rating, and compare the dimensions against a size chart for glass containers before ordering a pallet of quarts or a mixed case for recipe testing. Ask as well which jars are rated for boiling water baths and which for pressure canners; when we match a jar to a project, that question is settled before samples go out.
Frequently asked questions
Do jars have to be sterilized before water bath canning?
Only when the recipe processes for under ten minutes, as many jams and jellies do. At ten minutes or more the processing sterilizes the jar, and a thorough hot wash is enough, though hot jars still guard against breakage.
How long should mason jars boil?
For 10 minutes at a full rolling boil at sea level, with the jars under an inch of water or more. Each 1,000 feet of elevation adds 1 minute.
Does oven sterilizing work?
Yes, at 275°F (135°C) for at least twenty minutes, with the jars left in the warm oven until they are filled. It is common in jam making and is never a replacement for the recipe's water-bath or pressure-canning time.
Is a dishwasher enough for canning jars?
For short-turnaround projects and for holding jars warm, a sanitize cycle does the job. For shelf-stable canning processed under ten minutes, boiling is recommended.
Should the lids be sterilized as well?
They should be washed and kept in hot water, not boiled. Bands only need to be clean, and a flat lid should never go through canning twice.
How long does a sterilized jar stay sterile?
About an hour in open air at room temperature. Past that, sterilize it again before use.